Sunday, March 18, 2012

Let the light shine!

Before Photo of my dark living room, even with the light
streaming in the windows.
All the tools I used. (I forgot to photograph the fish line)
I doubt many of you have noticed, but I rarely post pictures from activities in my living room. There is good reason for that. My Living Room is a dark cavernous hole. I have attempted a few things to fix it. When the sun is up, my windows are open. I painted the underside of the front porch white, to reflect light inside, I placed a mirror over the couch, opposite the window. Yet still super duper dark. I have been mulling around the idea of recessed lights for some time. There is attic space above the living room for access, and I love the clean look of recessed lights. I was just waiting for my opportunity. Then last Friday, My Vet got a text, and 6 days later he was on his way up to Lake of the Woods for some ice fishing. That meant I had roughly 4 days to see what I could get done. Since I have my preschool helpers, I figured I might be able to get the popcorn ceiling down, and just maybe get lights installed, before he came home. After prepping the ceiling, I compiled all the tools I figured I would need.

I started by measuring my room roughly 20x12. Then based on the manufacturers recommendation, and the spacing of my joists, I mapped out the placement of my 6 fixtures.

I measured and marked where they would go.

I scored the cutout with a utility knife

Then used a drywall saw to cut a precise hole. A specialty tool for working with drywall that is worth the $5. Be careful measure twice, cut once. Any mistakes will need to be patched/repaired it is easier to erase pencil marks than it is to patch a bunch of holes.

Fish the wire from hole to hole. Make sure you have a continuous line of wire to each can, (creating a complete circuit) before pushing the can into the ceiling and securing.

Connect the wires. I have this cool tool that cuts and strips the wire in one squeeze of the handle. (Sorry for the poor resolution. doing a tight shot in bad lighting...)

Push in can. Be sure to use proper cans for your installation. I needed remodel lights rated for direct contact with insulation (IC). Install housing/trim and bulb.


Ceiling, Walls, Lights, After
It took a few hours and some effort, but I am more than ecstatic about the results.  I still have a ways to go before I am finished with the living room, but I am 1 step closer.


**Before starting this project I did some looking online. Thanks to that looking I found a 6 pack of recessed ceiling housings at Lowes for $48 (Menards and Home Depot were over $100) While at the store to pick them up, I found a clearance deal for a 6 pack of trim for $12 (Originally $40) Since I live in a rural area, I didn't want to miss anything so I grabbed a 100' of wire and bulbs. My total for everything at Lowes was $110. By shopping (and getting a bit lucky) I was able to do this entire project for very little $$!


Follow Me on Pinterest

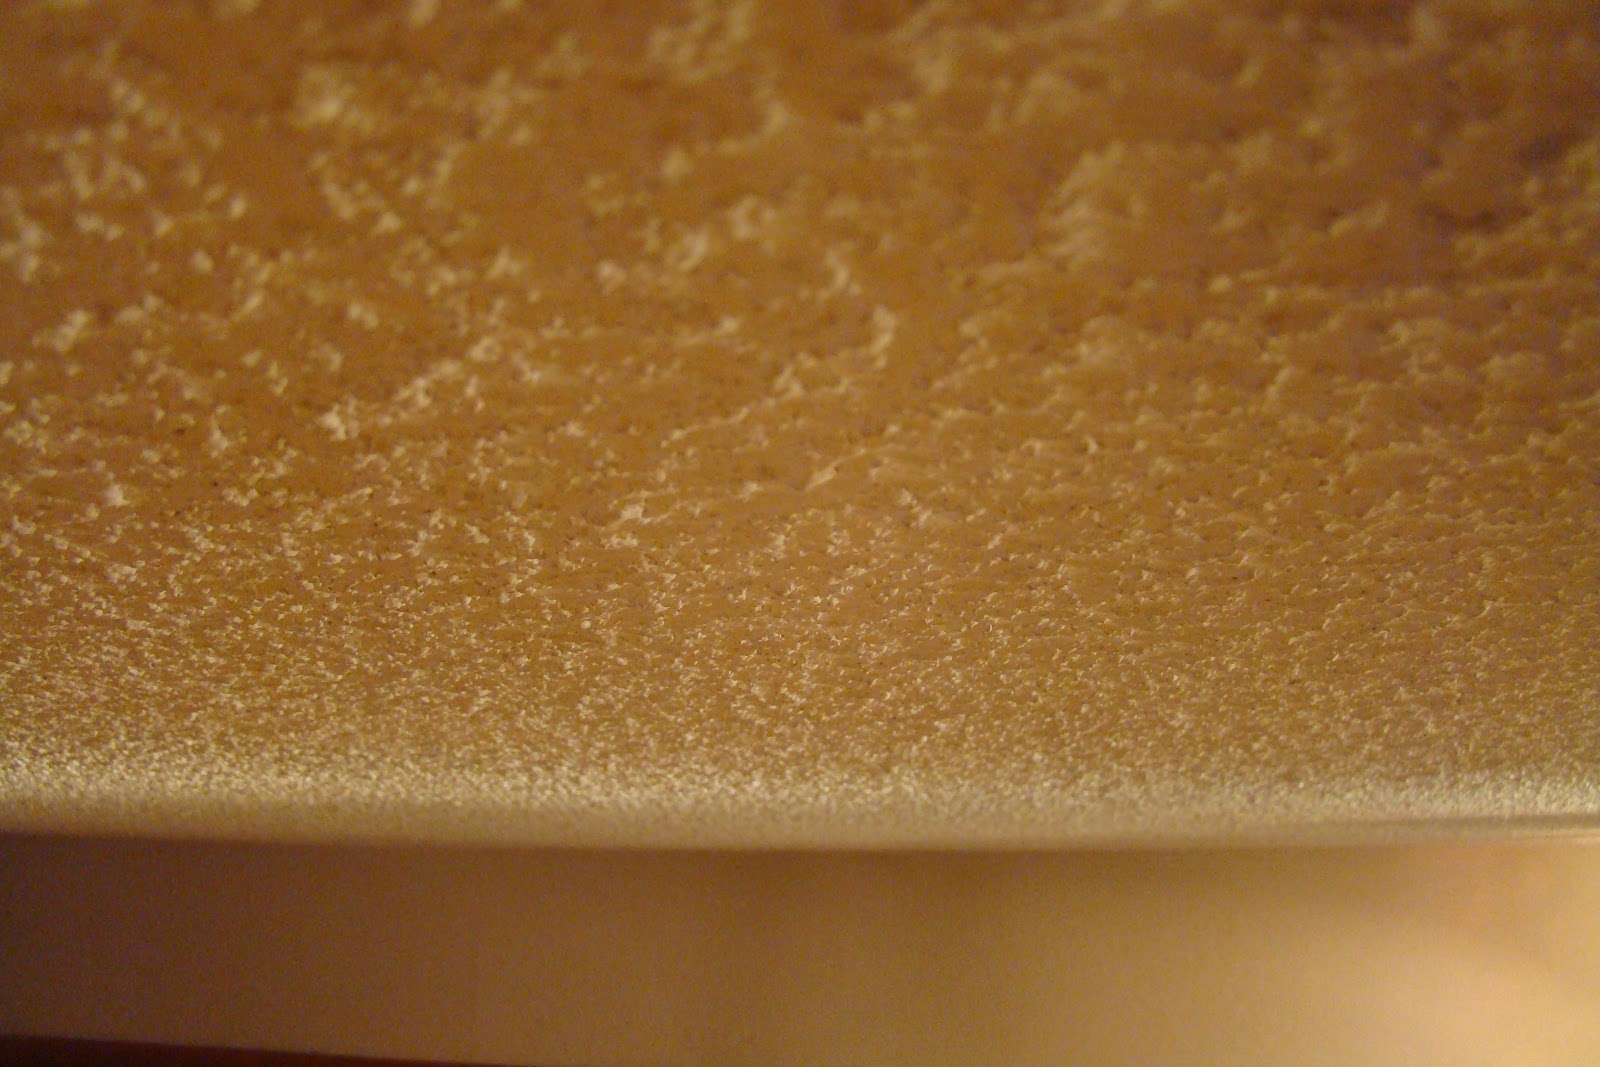
Popcorn belongs in mouths NOT ceilings!

Bad Popcorn
Previous popcorn removal in the kitchen.
I hate popcorn ceilings. Whoever sold the idea that this was a good way to finish a ceiling, needs to have their head examined. Since this type of drywall treatment is an epidemic, I have found myself moving into homes with this blight. Thanks to a small leak in the kitchen ceiling that caused the popcorn to fall in areas, I have already tackled the removal. Because the leak had been fixed, (Not Exactly) the prior owners had orchestrated a patch job that made it's removal a real pain. That experience made me nervous about attempting the living room, but after a year of admiring the Kitchen ceiling, I was ready to try it again. I was very fortunate that this time around the scraping went smoothly. Because if you attempt this project you will learn that clean up, not scraping, is the hard part.

You will see that I didn't cover my walls...
Start by covering everything. Unless you intend on wiping down your walls when finished and repainting, I would go so far as to cover the floors and the walls with plastic. If you do not cover your walls do remove clocks, art work, mirrors etc. Also remove all the furniture from the room. This is going to get messy.

I think this is the fun part. I LOVE seeing it go!
After your room is prepped. You will want to wet down your ceiling. This softens the popcorn so it comes off easily. (If you suspect that your ceiling has been painted over, do a small test spot. If it has, the popcorn will not absorb the water and you are out of luck.) Do not use a spray bottle for this, your fingers will go numb and you will not be able to saturate the plaster well enough. I like to use a weed sprayer that I fill with water, pump to create pressure then just squeeze the trigger. You want enough water that it is lightly falling like mist, not rain! Then use a wide drywall scraper and it should just fall.
Me and my sprayer. I sprayed and scraped
1/3 of my ceiling at a time.

Popcorn on my shoes
Then comes the hard part. You will need to wipe down or sand your ceiling. I lucked out and it was primed underneath so I was able to wipe it down with a wet towel, rinsing my bucket often. If you have to sand, be sure to wear a mask and tape of the room. The fine dust you will create will go everywhere and make cleanup even worse. Be thorough at this step, or you will be finding white particles all over your house for a long time. My kids tracked it all over the first floor during this project...


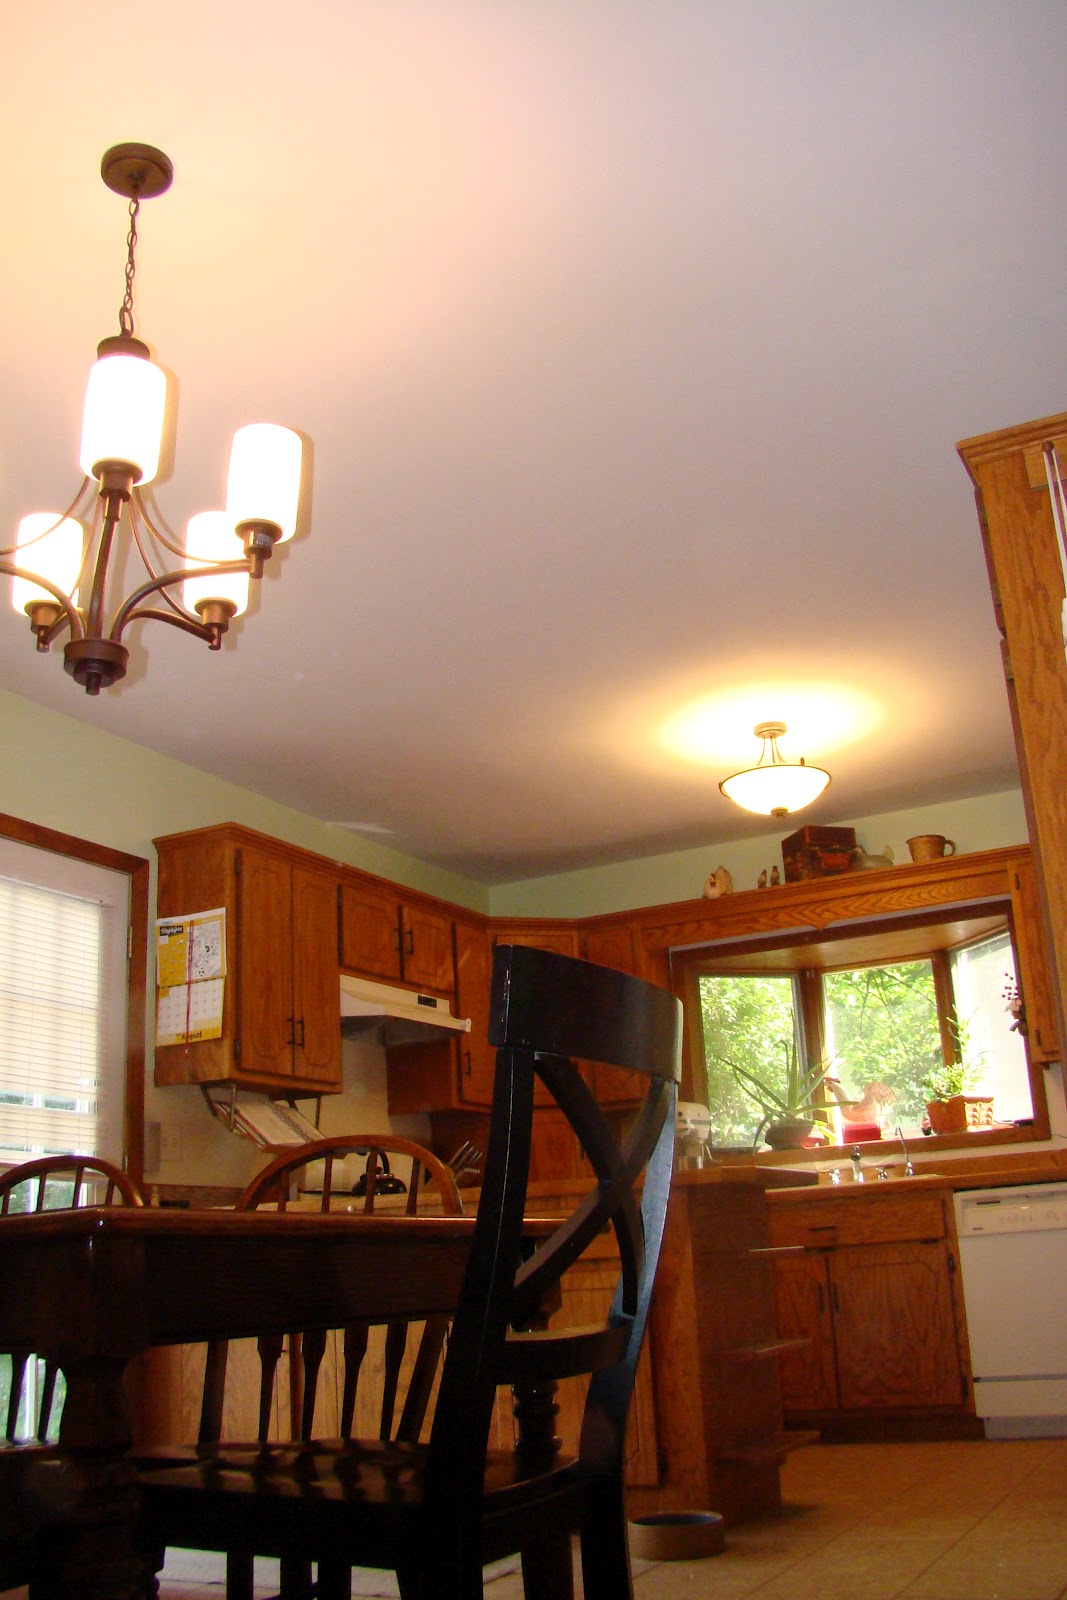
Good Popcorn
Paint with ceiling paint and your finished. I find that ceiling paint is very thin, so it may need 2 coats. Also if you are planning on painting the walls be sure to bring your ceiling color down onto the walls a 1/2 inch or so. This will give you a crisper paint line between the ceiling and wall paint, and not allow the previous color to show. I have a small telescoping roller that I like to use on my ceilings. I find that a longer handle makes it easier on the arms.

I couldn't leave the walls since I had painted ceiling color around the top. Luckily I have been going to Ace Hardware every Saturday this month so I had several free quarts of  Clark+Kensington Paint+Primer in One, tinted Mystical 1038. I combined the quarts into a bucket prior to painting, in case there were any color variations.

Since I had ceiling paint left over from a previous project and I even got my paint brushes free using Menards Rebates. This project was completely free!

My room isn't finished yet. But here is my progress..

Before
Ceiling After


Follow Me on Pinterest

Saturday, March 10, 2012

Hunger Challenge Day 7 - Finale!!

It's over, Kind of..

Catch up by reading: Getting Started, 1, 2, 3, 4, 5, 6

The girls enjoying their $3 splurge today.
(Thanks to the missions team at New Life Church
for the yummy looking cupcakes!)
Today is the final day of the Challenge and the day I was the most worried about. It is the day of the Annual Princeton Business Expo. As Business owners we have a booth and spend most of the day on our feet talking to current and prospective clients, making balloon animals, as well as chasing our kids through the exhibit hall and networking with other business owners.

Obviously restaurants are businesses and they all set up shop in the School Cafeteria to sell their wares. There is also a Pancake Breakfast fundraiser. I know that this is going to be a budget buster. How do I have 2 preschoolers at this event for 6 hours and not allow them ANY treat?

Chicken Salad Sandwiches.
They were such a hit, I didn't get one!
I got some left overs at home.
In anticipation, I made sandwiches and packed snacks and refillable water bottles. Since we eliminated the kids $27.35 from our original budget, I am NOT going to beat myself up if I go over budget to treat my kids while supporting local businesses/charities.

Today is a great day to look back at the week. There are a few changes I would make if I were to do it over. I would have gotten 1 less chicken, 1 more dozen eggs, 4lb bag of sugar, no popcorn, and made instead of bought bread. This would have allowed for a little more variety and loosened the budget up enough to pick up more kinds of fruit. I hadn't realized just how much I rely on the fruit preserves in my pantry as well as my freezer. Other than the amount of time I've spend blogging, for the most part this week hasn't been significantly different for us. Saving and living on an extremely tight budget prevents us from the travel and entertainment that our friends are able to enjoy, but we don't spend hours everyday commuting, we have paid off lots of debt, and we get to spend lots of time with our kids.


Follow Me on Pinterest