Thursday, September 12, 2013

How to Slice a Tomato

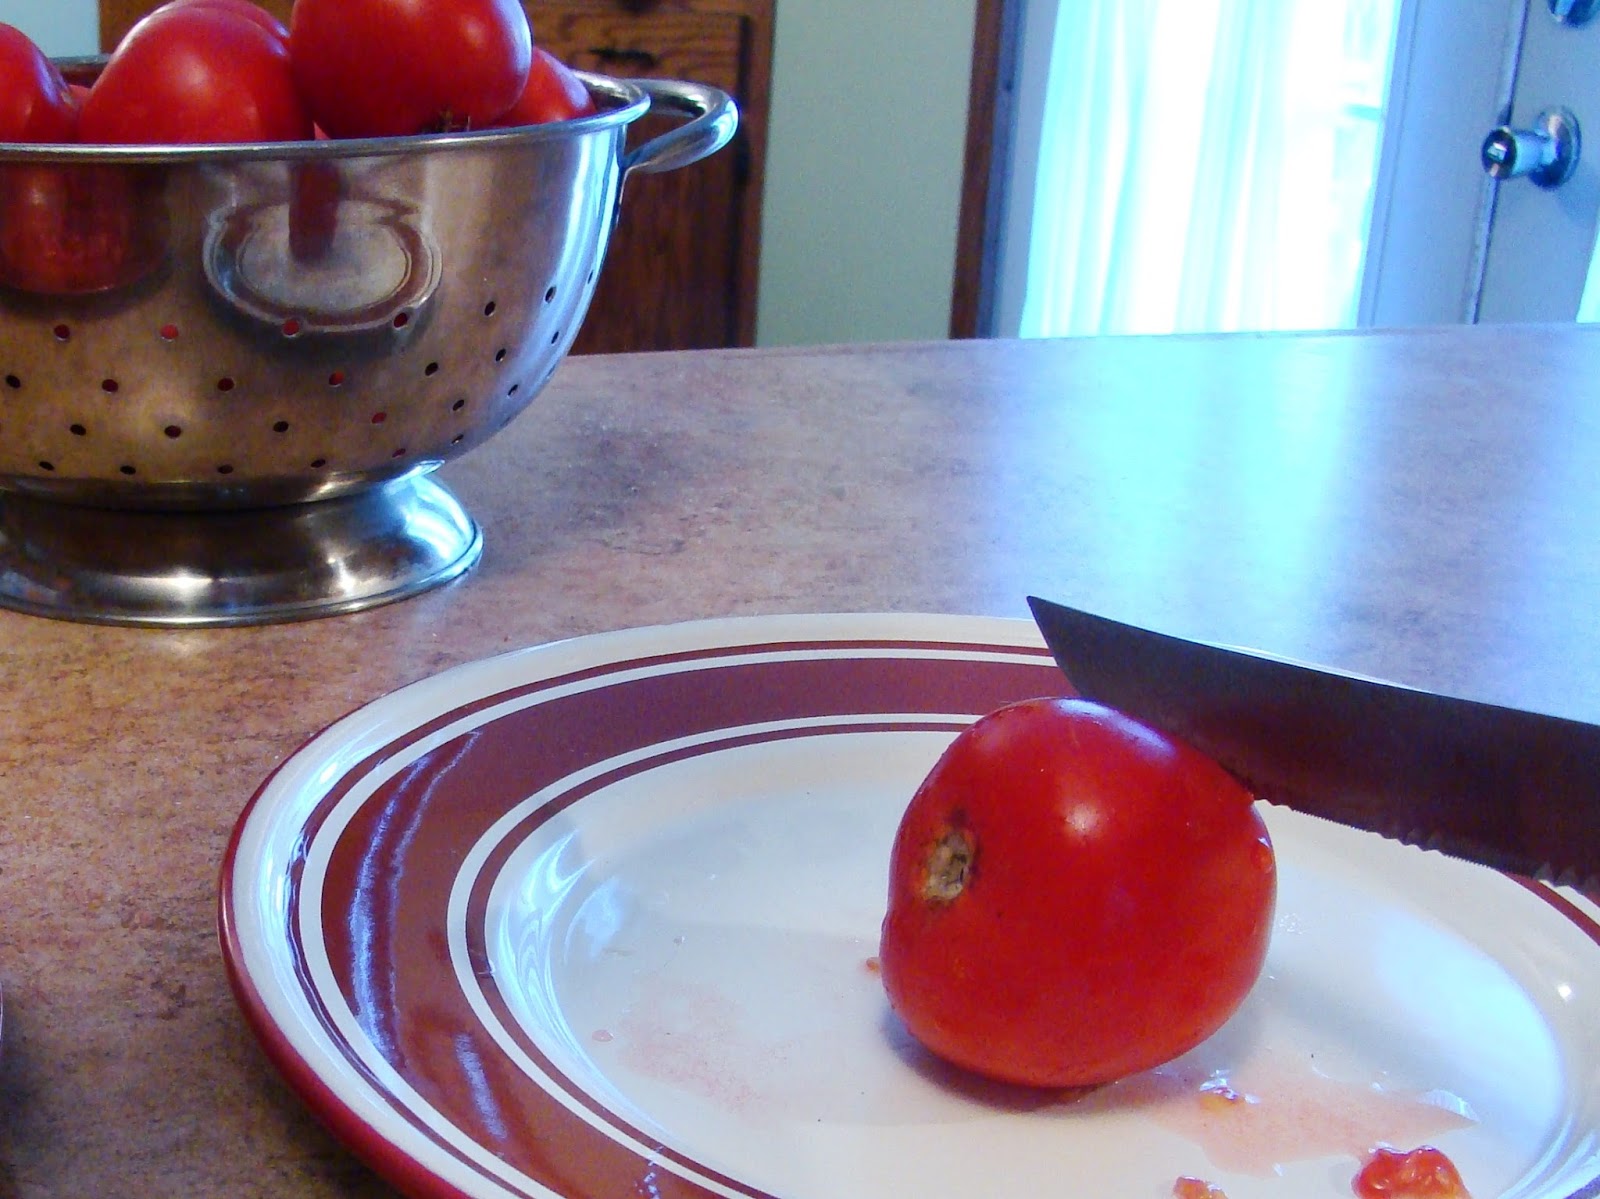
Last week's post on how to chop and onion has been a surprising hit. So I thought I would share this easy little trick that will not only make your slices pretty, the juices wont slip out of the middle when you try to pick it up and put it on a sandwich. For starters you need a serrated knife. That is just a fancy term for a knife that has a scalloped shaped blade with tiny ridges vs. a straight edged knife.

When you are about to cut a tomato, the stem should not be at the top
 
 You will get a nice cross section of top to bottom, but the juices will have nothing to stick to and you'll end up with more of a ring than a slice.

It should be to the side parallel to the knife cut.
 
 You slices will have pretty marbling, I don't know if that's what it is called, but that's what it reminds me of. Those small pockets of juice will give the slice stability and you will not have a plate full of tomato guts when your finished slicing.
 
For fun here is a side by side. The sloppy fall apart way on the left. The blossoming flower that holds together on the right.
 
 
That's right I said for fun. Hold on to your hats, it is getting pretty crazy around here with all the produce coming in from the garden. How is your garden doing this year?

Monday, September 9, 2013

Floored!

 
School started back up so I only have one daily helper now. But she worked hard and made sure I didn't miss any spots. Since my floor had been previously painted, my options were to live with it as is (No Way!); sand/grind the paint off so I could lay tile or a concrete overlay(Uh...No); or repaint (that sounds pretty painless).
 
After painting all the other surfaces, I prepped the floor for new paint. I started by sweeping that went pretty good, but I did haul out a couple of full small garbage cans. Yuck! Then I used a scrub brush and a mop to scrub them clean. No matter how often I changed the water, it was almost always a thick sludge color. No wonder nobody wanted to spend much time down here. During the mopping stage I noticed lots of small debris and lint that was released from the floor, so I followed up with a final vacuuming to get any small particles.
 
Kids area almost back together.
 After letting the floors dry overnight, I took my oldest to her first day of school then changed into my paint clothes. I found a paint screen and an empty, clean 5 gallon bucket to pour my floor paint. Allowing me to completely submerge my roller in the bucket. Then started to trim around the edges with a brush. My youngest found me just as I was about to start rolling and lent a helping hand.
 
 
It is so bright now I am able to take photos without a flash or a tripod! I've also noticed that for the first time ever the dog likes to come downstairs too. I am almost ready to pat myself on the back.

Cost for this project for:
2 gallons of tinted paint
1 paint screen
-25% coupon
$50 Total OOP