Eventually, the girls got old enough to break there own, and they cried when I wanted to toss it. They would look at me with those pleading eyes, and tell me I could "just fix it". Not ready to shatter their childlike idea that I was Wonder Woman, I channeled my inner Super Grover. Some simple supplies that I picked up at the craft store, chased those tears away.
 |
| Sometimes too many beads can't be found so I have to purchase some. |
I am not, and will not ever be a jewelry maker, but I can satisfactorily repair it. Here is a quick rundown on the supplies I've needed.
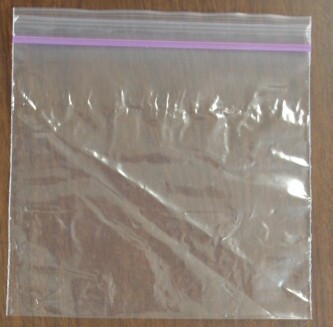
I always start with a plastic bag. I find all the pieces I can and place them in a sandwich bag. This way the parts for each piece are neatly stored and separated until I am able to get to them.
When I am ready to repair, I lay out the pieces on a piece of solid fabric so that they don't roll away. Since I don't always find every piece, or even remember the original pattern I can arrange them into a pleasing pattern before stringing.
My go to string is .8 mm Clear Stretch Cord. Since my repaired jewelry will need to withstand children again. I think something that stretches is important. Clear because it will hopefully camouflage any mistakes.
Set of jewelry pliers. Needle-nosed, Flat, and rounded. I have found those 3 to be sufficient.
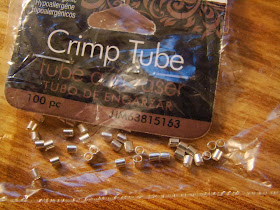
Crimp Tubes. Stretch Cord doesn't simply tie in a knot. Crimp Tubes come in packages of 100 and quickly and easily knot 2 ends of the stretch cord together. 2 years later I am still using my original package.
Metal rings in a variety of sizes. These small, easy to bend pieces are often lost when an item breaks, I also like new ones that are hopefully stronger and will last longer.
So far I haven't encountered anything too complicated, granted I've only tackled costume Jewelry.
***Disclaimer *** I am not recommending these techniques for more expensive jewelry. That should be left to professional.


No comments:
Post a Comment
Want to make my day? Leave a comment. I read and appreciate EVERY one of them, REALLY, I DO!